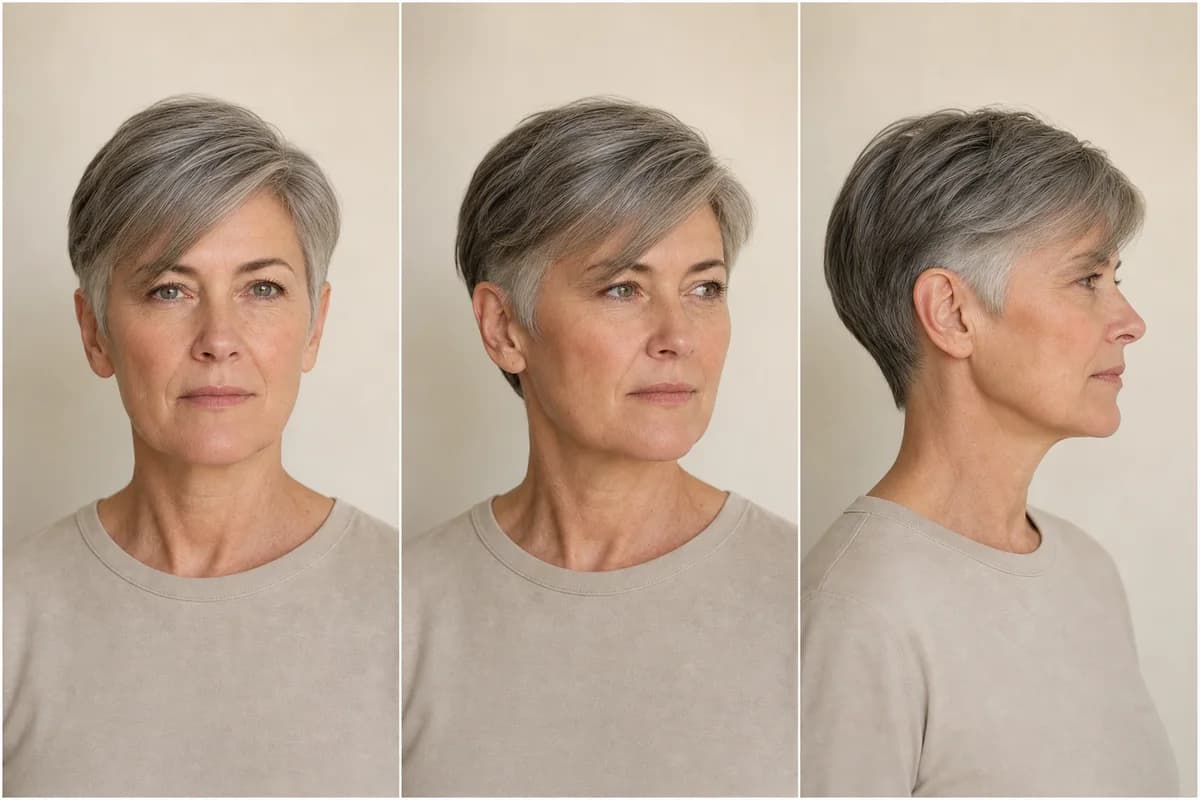
A widow's peak is not automatically a receding hairline
Compare current and older photos. A stable center point with similar temple corners is a natural shape. Corners that have moved back or density that has changed need the receding-hairline plan too.
- 1Expose itA buzz, crew, quiff, or slick back makes the center point a visible feature.
- 2Soften itA side sweep or textured crop breaks up the outline without pretending it is straight.
- 3Frame itA small forward fringe can sit near the line when front density supports it.
- 4Track changeUse older photos when you need to separate a lifelong peak from active recession.
Eight ways to use the natural point
The useful image keeps both the center and the corners visible. Reject any reference or generation that silently replaces the hairline.
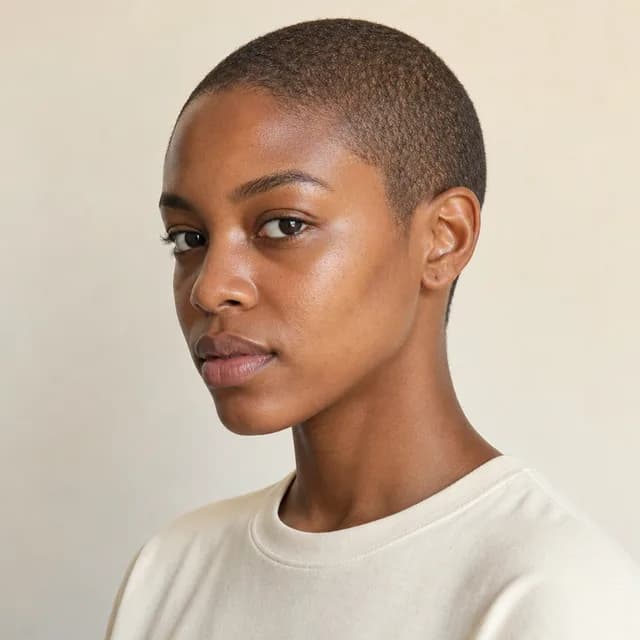
Buzz cut
- Why it works
- The even short length makes the hairline look intentional and removes wispy contrast.
- Best starting point
- Someone comfortable showing the full hairline, scalp, crown, and head shape.
- Check before cutting
- Preview it first because the cut makes every part of the outline more visible.

Crew cut
- Why it works
- A small front lift can work with the point instead of attempting a straight line.
- Best starting point
- Straight or wavy hair with stable density through the front center.
- Check before cutting
- A high fade can create more contrast against recessed temple corners.
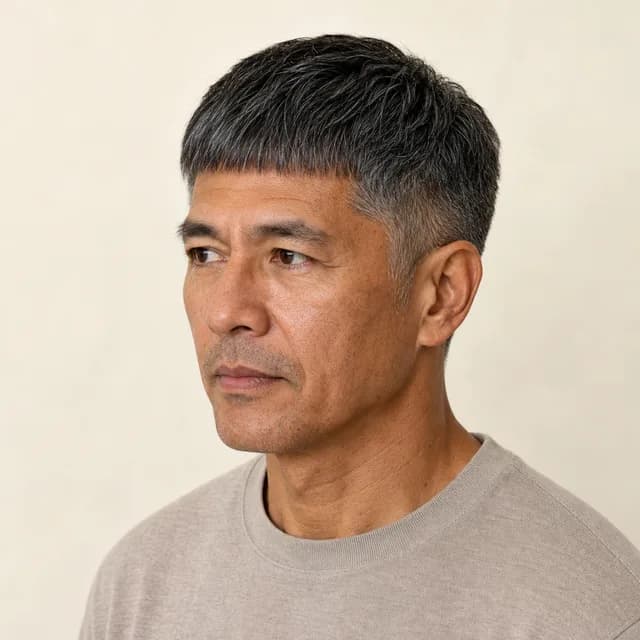
French crop
- Why it works
- Short forward texture can reduce the visual focus on the central point.
- Best starting point
- Straight or wavy hair with enough front coverage for a small fringe.
- Check before cutting
- Keep the fringe density believable and do not fill the corners in the preview.

Caesar cut
- Why it works
- The simple forward shape can soften the outline at low styling effort.
- Best starting point
- Short straight or lightly wavy hair with stable front coverage.
- Check before cutting
- A perfectly blunt line may look artificial when the underlying peak is strong.
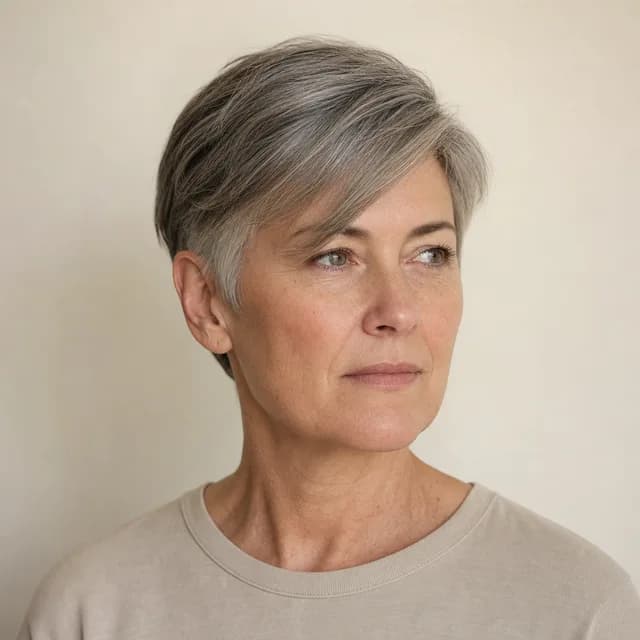
Side-swept fringe
- Why it works
- It can soften the front without requiring a dense fringe across the whole forehead.
- Best starting point
- Fine to medium straight or wavy hair with a natural side direction.
- Check before cutting
- Avoid stretching a thin section across the top if the temple density is low.

Controlled quiff
- Why it works
- Front height can make a stable widow's peak look deliberate rather than hidden.
- Best starting point
- Medium to thick straight or wavy hair with solid front density.
- Check before cutting
- High volume and tight sides can make the forehead look longer.

Slick back
- Why it works
- The clean direction works when there is no need or desire to hide the front outline.
- Best starting point
- Medium straight or wavy hair with stable top density.
- Check before cutting
- Shine and tight grouping can make scalp or temple gaps more visible.

Off-center curtains
- Why it works
- The split can frame the face while keeping the central line partly visible.
- Best starting point
- Medium straight or wavy hair with enough density and side length.
- Check before cutting
- A strict center part may fight the natural point, so follow the actual growth direction.
Three checks before you trust the image
A flattering preview often edits the hairline without announcing it. Compare the source at the exact front landmarks.
Keep the central point
Its height and position should not move when the haircut changes.
Keep both temple corners
Do not accept a version that fills, lowers, or makes the corners more symmetrical.
Compare older photos
Use them only to understand stability or change, not to replace the current hairline.
Haircuts for a widow's peak FAQ
What haircut is best for a widow's peak?
A buzz cut, crew cut, crop, Caesar, side sweep, quiff, slick back, or curtains can work. The choice depends on whether you want to expose, soften, or frame the point, plus the front density and growth direction.
Is a widow's peak the same as a receding hairline?
No. A widow's peak can be a stable natural central point. Recession means the corners or front line have moved over time or the density has changed. Older photos can help separate the two.
Should I hide a widow's peak?
You do not need to. Swept-back and short cuts can make it a feature, while a crop or side fringe can soften it. Choose the effect you prefer without redrawing the real outline.
Will the try-on preserve my widow's peak?
The prompt tells the image model to keep the exact hairline and temple corners. Compare every output with the source because image models can still straighten or lower a hairline automatically.